Saturday, February 28, 2009

Shepherds Pie


Ingredients

  • 1 1/2 lbs ground sirloin (or ground turkey)
  • 1 onion chopped
  • 1-2 cups vegetables - chopped carrots, corn, peas
  • 1 1/2 - 2 lbs potatoes (3 big ones)
  • 8 tablespoons butter (1 stick)
  • 1/2 cup beef broth
  • 1 teaspoon Worcestershire sauce
  • Salt, pepper, other seasonings of choice

1 Peel and quarter potatoes, boil in salted water until tender (about 20 minutes).

2 While the potatoes are cooking, melt 4 Tablespoons butter (1/2 a stick) in large frying pan.

3 Sauté onions in butter until tender over medium heat (10 mins). If you are adding vegetables, add them according to cooking time. Put any carrots in with the onions. Add corn or peas either at the end of the cooking of the onions, or after the meat has initially cooked.

4 Add ground beef and sauté until no longer pink. Add salt and pepper. Add worcesterchire sauce. Add half a cup of beef broth and cook, uncovered, over low heat for 10 minutes, adding more beef broth as necessary to keep moist.

5 Mash potatoes in bowl with remainder of butter, season to taste.

6 Place beef and onions in baking dish. Distribute mashed potatoes on top. Rough up with a fork so that there are peaks that will brown nicely. You can use the fork to make some designs in the potatoes as well.

7 Cook in 400 degree oven until bubbling and brown (about 30 minutes). Broil for last few minutes if necessary to brown.

Sunday, February 15, 2009

Valentine's Day Cake

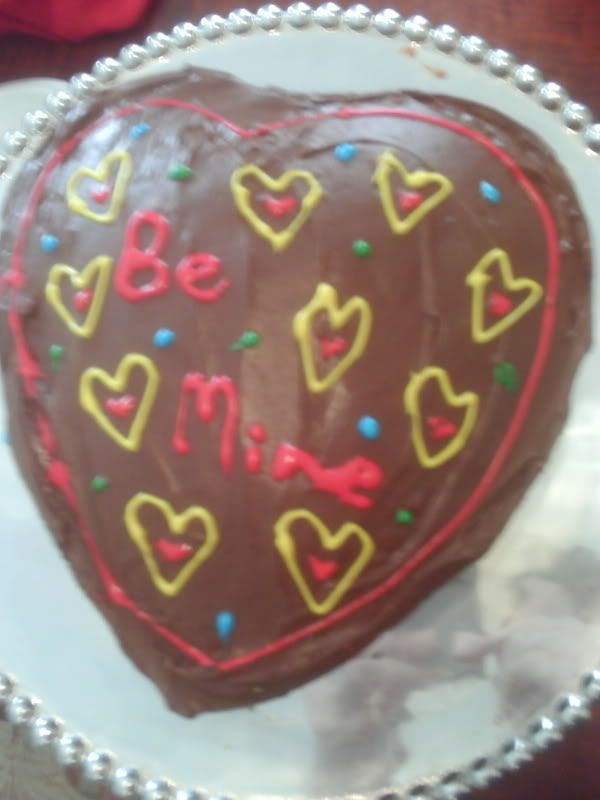
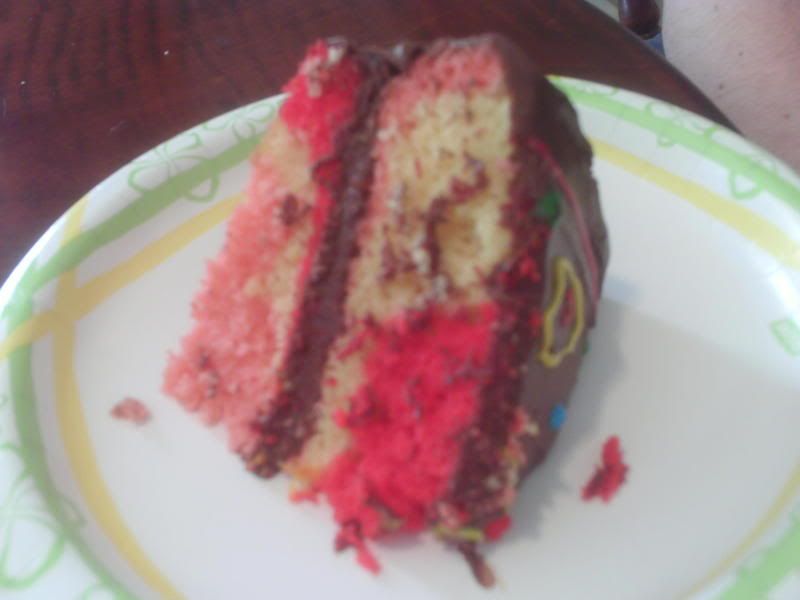
It all started when I was in Kroger, and they were selling heart shaped throw away cake pans. There were 2 of them in a pack. Then I went online and found this fun diet cake recipe on omnomicon's blog. I'm usually an unbleached flour, natural food when-it's-cheap type girl, so this was kind of a rare occasion for me! :-) Let's just say, Madison was SHOCKED when he cut open that cake! haha!

So here's what I did...

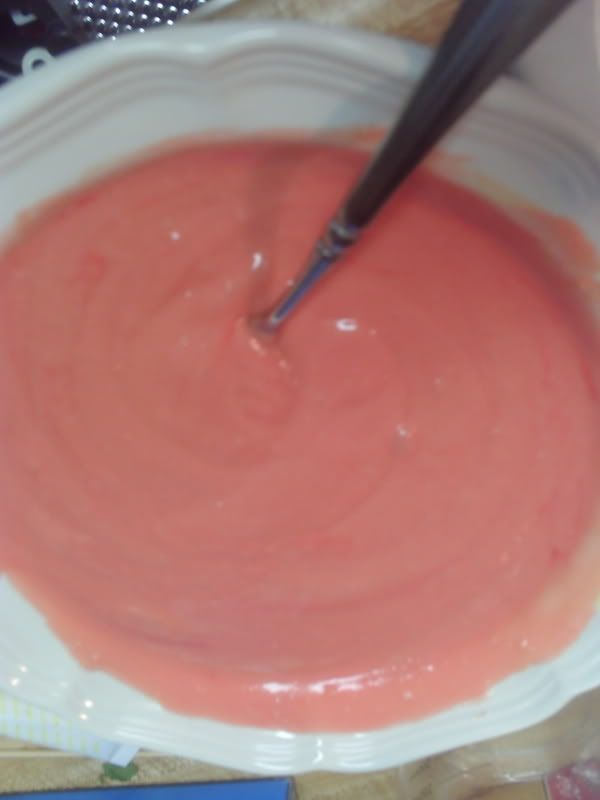
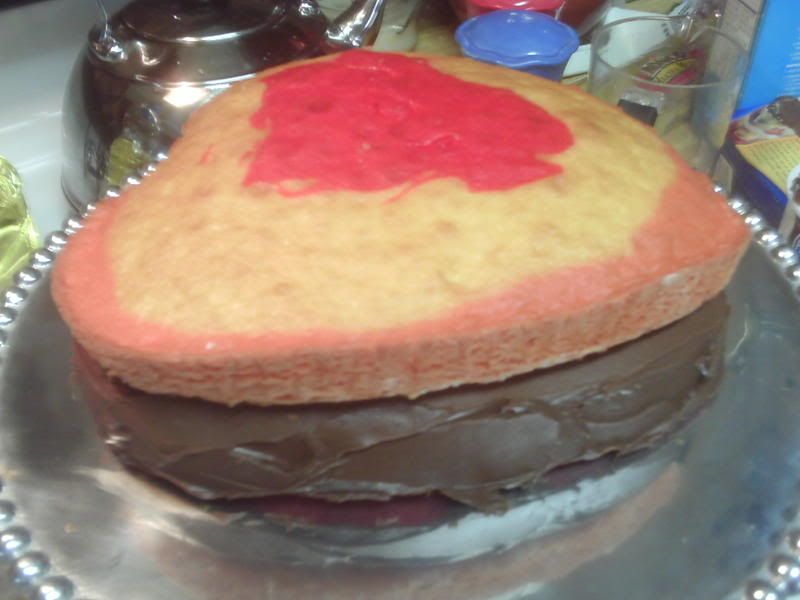
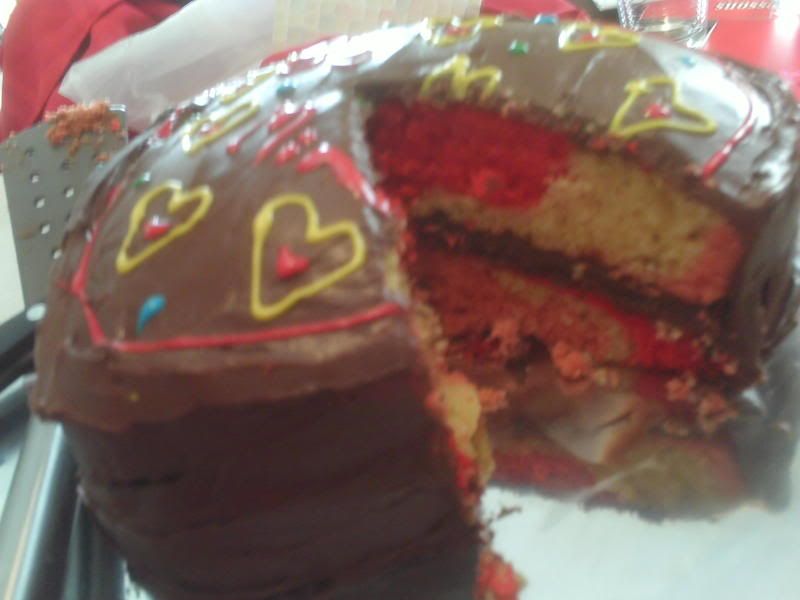
I divided the batter into 3 bowls. I used gel food coloring (better for you than the old stuff - and brighter!) and dripped it into the bowls to make pink, red, and left the yellow cake as is.


I greased the pans w/ crisco and flour to make it easy to flip them out to decorate.
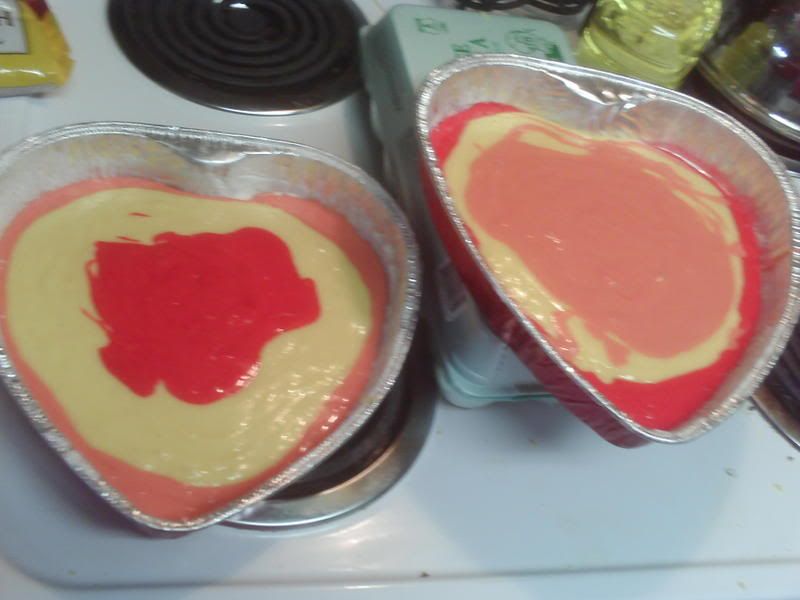
One cake mix = 2 heart pans. I poured the majority of the red on the bottom of the first one, half of the yellow cake mix on top, and about 1/3 of the pink on the top. Then with the other, I did the opposite. Don't mix the colors, just dump on top of each other.


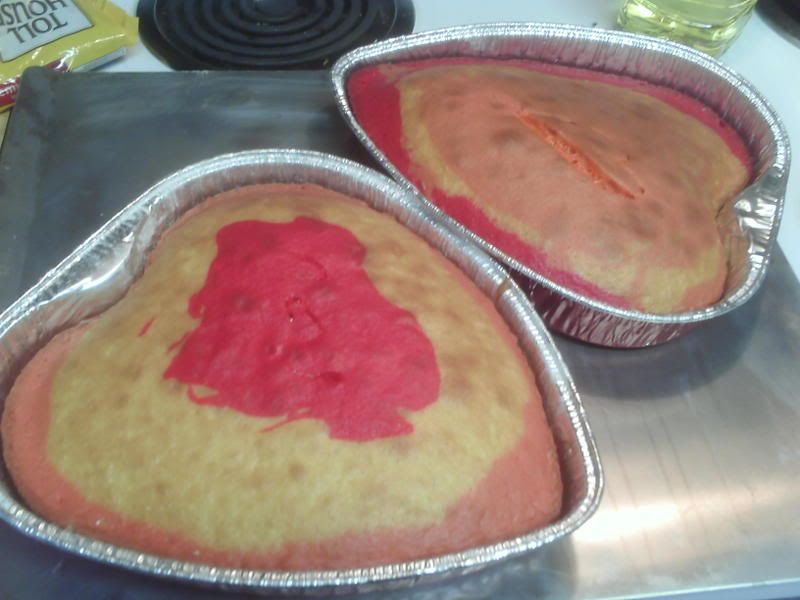
I baked for the normal time on the box directions, they came out just right.


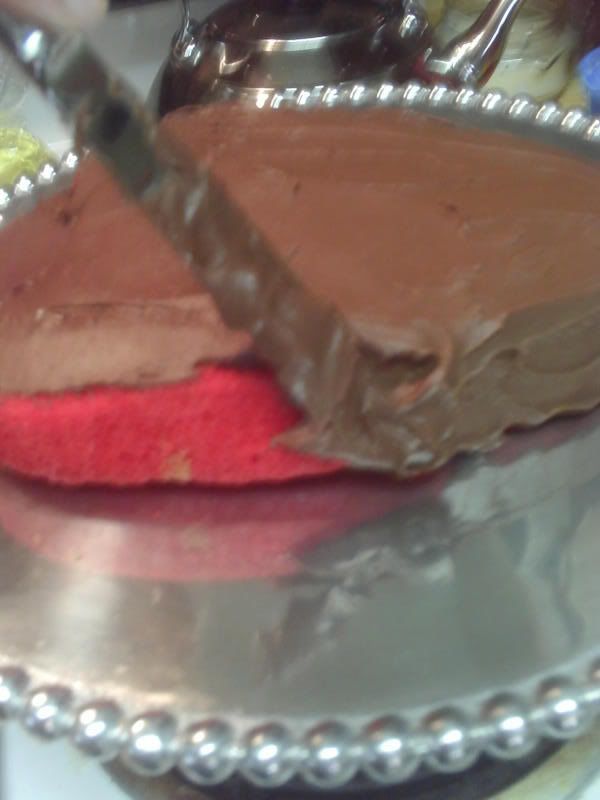
I flipped the first one onto the cake platter and iced it.


Then I set the second layer & frosted it.


Tada!


Friday, January 2, 2009

Spinach and Mushroom Manicotti

Spinach & Mushroom Manicotti (I made it without mushrooms, ha!)
1 box (8 oz) Manicotti
2 tablespoons extra virgin olive oil
6 oz. mushrooms, chopped
1 garlic clove, minced
1 bag (6 oz) FRESH spinach - it makes a huge difference (one time I didn't have fresh spinach, just the frozen kind and it was yucky - but then again, I'm picky)
2 eggs
1 container (15 oz) lowfat ricotta cheese
1/3 cup chopped basil leaves
1 teaspoon salt
1 jar Italian Baking Sauce or Marinara Sauce
1/2 cup fresh Parmesan cheese (I use the part skim shredded Italian Blend cheese)

Preheat oven to 350*F.
Cook Manicotti 7 minutes, drain and rinse in cool water. Set aside.
Meanwhile, heat oil in large skillet over medium heat. Add mushrooms and garlic; saute 5 minutes, stirring occasionally. Add spinach and continue cooking for 5 mins. (If you're not doing the mushrooms, add the spinach where they say to add the mushrooms and skip this step). Set aside to cool.
Beat eggs lightly in medium mixing bowl. Stir in ricotta, basil and salt. Stir in mushroom/spinach mixture.
Spread 3/4 cup Italian Baking Sauce/Marinara sauce over borrom of 13x9-inch baking dish. Fill Manicotti with mushroom/spinach mixture; place in dish. (I find it easiest to cheat and split the shells about halfway and paste it back together) - you can't tell after it's baked. Pour remaining sauce evenly over filled shells, sprinkle with cheese. Cover with foil. Bake for 30 minutes. Uncover, continue baking 5-10 mins until cheese is melted. Makes 6 servings.
Enjoy!

Monday, December 15, 2008

Mom's Sugar Cookies & Frosting, Homemade Hot Chocolate

To print this out, just right-click and save, print it on cardstock, and you have
a rec
ipe card! :-)


Mom's Sugar Cookies & Icing

Mix:
3/4 cup shortening/part butter
1 cup sugar
2 eggs
1/2 teaspoon vanilla

Mix:
2 1/2 cup flour
1 teaspoon baking powder
3/4 teaspoon salt

Combine and refrigerate for 1 hour. Roll out 1/8". Cut with cookie cutters and place on cookie sheet.

400*F for 6-8 mins.

Icing:

4 cups confectioners' sugar
1/2 cup shortening or butter (I used smart balance butter because that's what was in the fridge and it turned out really well)
5 tablespoons milk
1 teaspoon vanilla extract
food coloring

In a large bowl, cream together the confectioners' sugar and shortening until smooth. Gradually mix in the milk and vanilla with an electric mixer until smooth and stiff, about 5 minutes. Color with food coloring if desired.

Well that's it for now!

Wednesday, December 3, 2008

Peppermint Bark

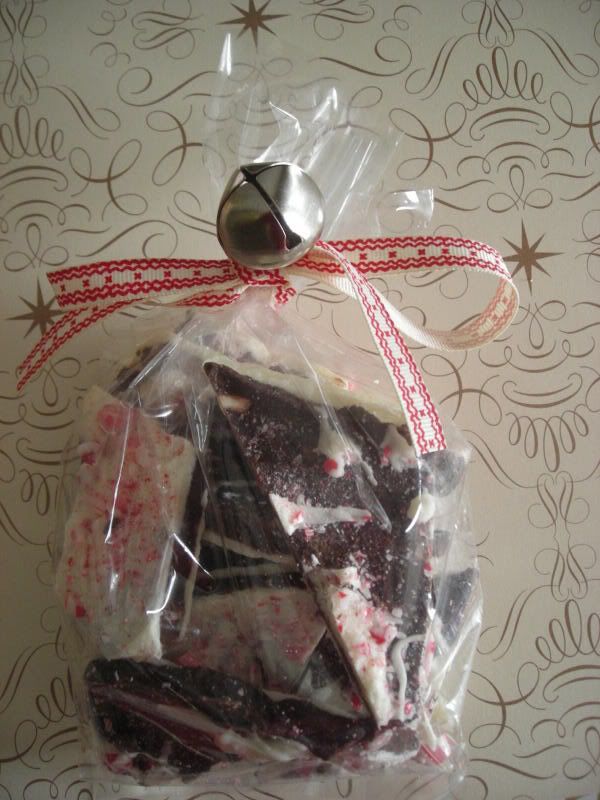
I received this amazing treat from my sister in an exam care package a few years back. Since then, I have made it for many Christmas presents/favors/hostess gifts. They are pretty, and if you get the cellophane bags from wal mart or a craft store, it's a very cheap but tasty gift. I don't make candy, and I do not have a candy thermometer. This is actually very easy and pretty hard to mess up. ingredients:
  • 17 ounces good-quality white chocolate (such as Lindt or Baker's), finely chopped (I actually just used white chocolate chips and it turned out fine)
  • 30 red-and-white-striped hard peppermint candies, coarsely crushed (about 6 ounces) or 1 box of candy canes crushed (that's what I used)
  • 7 ounces bittersweet (not unsweetened) or semisweet chocolate, chopped (I used semisweet choc. chips)
  • 6 tablespoons whipping cream or evaporated milk
  • 3/4 teaspoon peppermint extract
preparation:

I unwrap the candy and place it in two ziplock bags.


Turn large baking sh
eet bottom side up. Cover securely with foil.


Mark 12 x 9-inch rectangle on foil. I folded it under and back.


Stir white chocolate in metal bowl set over saucepan of barely simmering water


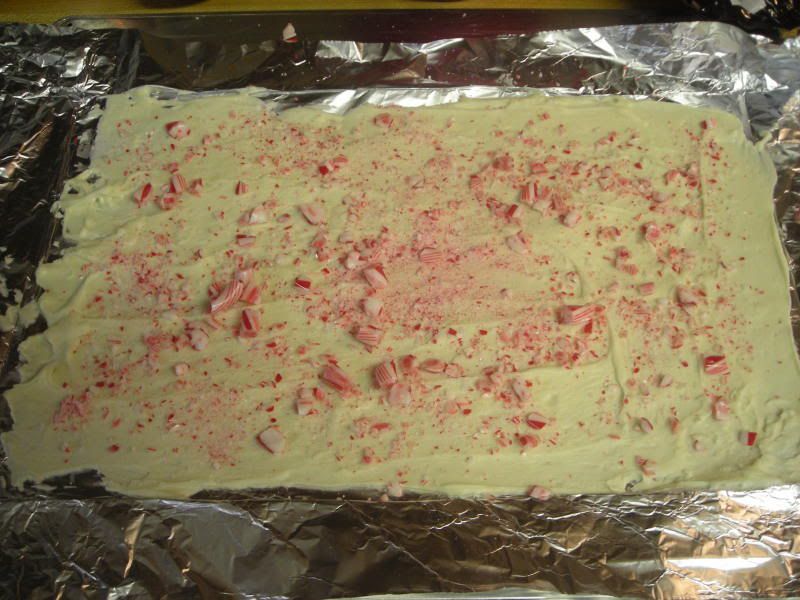
(do not allow bottom of bowl to touch water) until chocolate is melted and smooth and candy thermometer registers 110°F. (chocolate will feel warm to touch). Remove from over water. Pour 2/3 cup melted white chocolate onto rectangle on foil.


Using icing spatula, spread chocolate to fill rectangle. Sprinkle with 1/4 cup crushed peppermints. Chill until set, about 15 minutes.


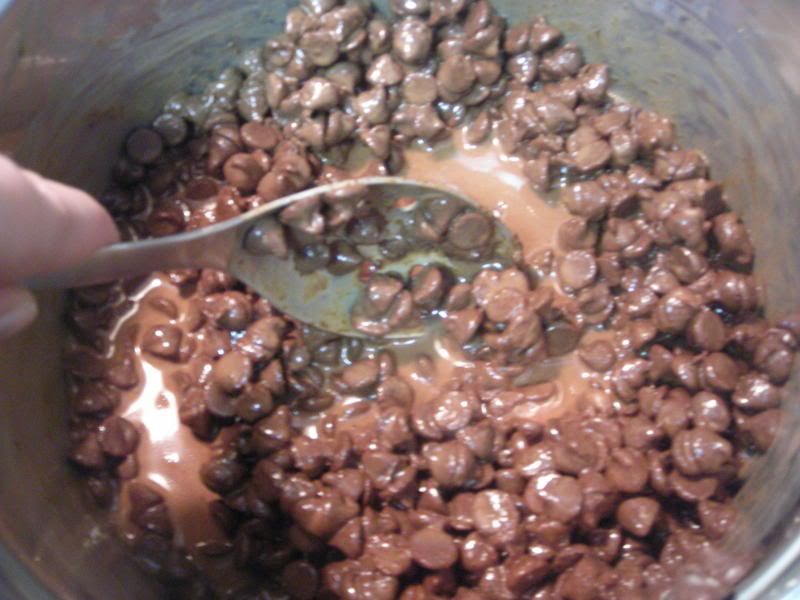
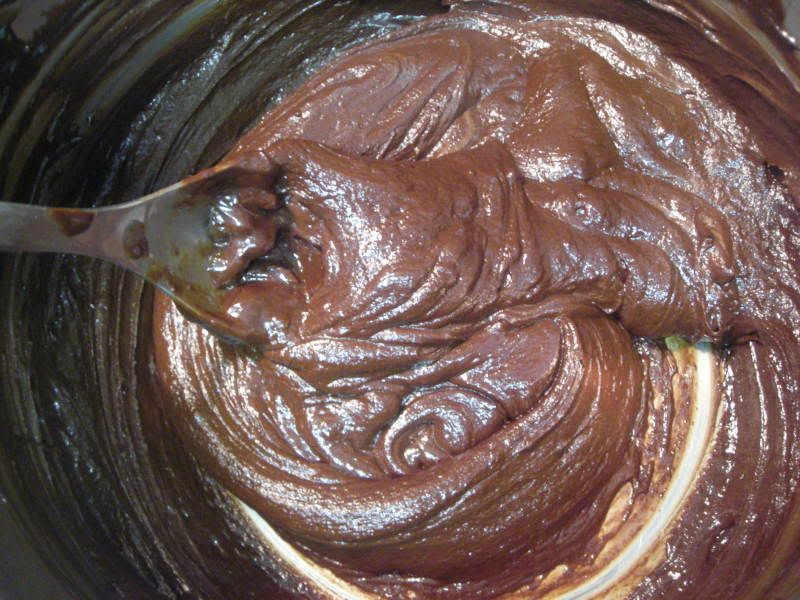
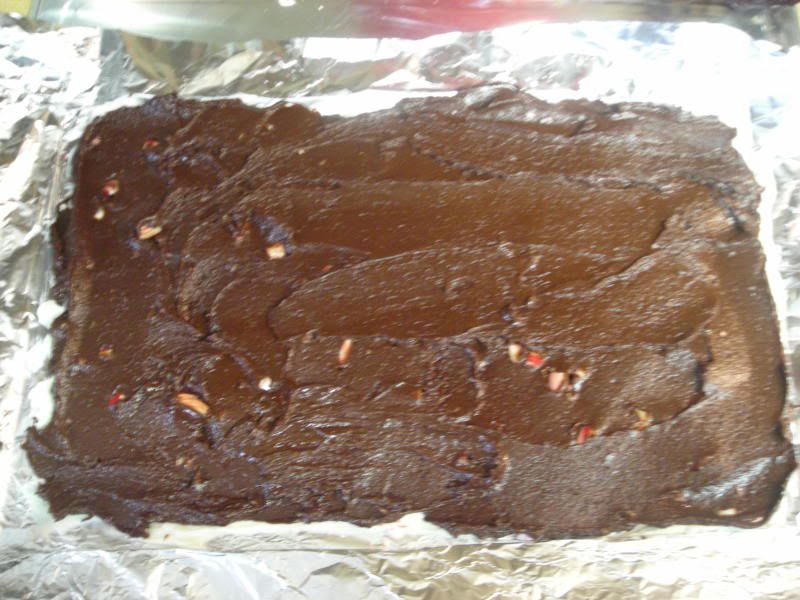
Stir bittersweet chocolate, cream and peppermint extract in heavy medium saucepan over medium-low heat until just melted and smooth.


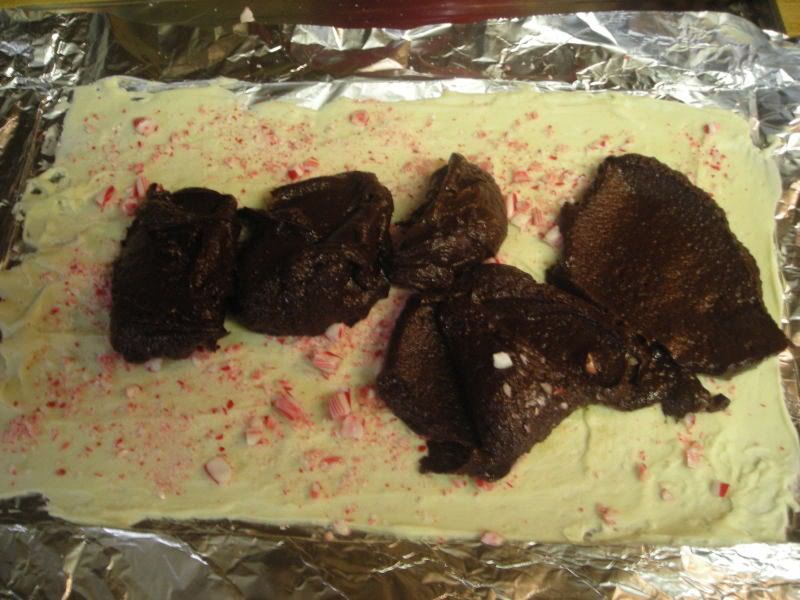
Cool to barely lukewarm, about 5 minutes. Pour bittersweet chocolate mixture in long lines (or blobs) over white chocolate rectangle.


Using icing spatula, spread bittersweet chocolate in even layer.


Refrigerate until very cold and firm, about 25 minutes.


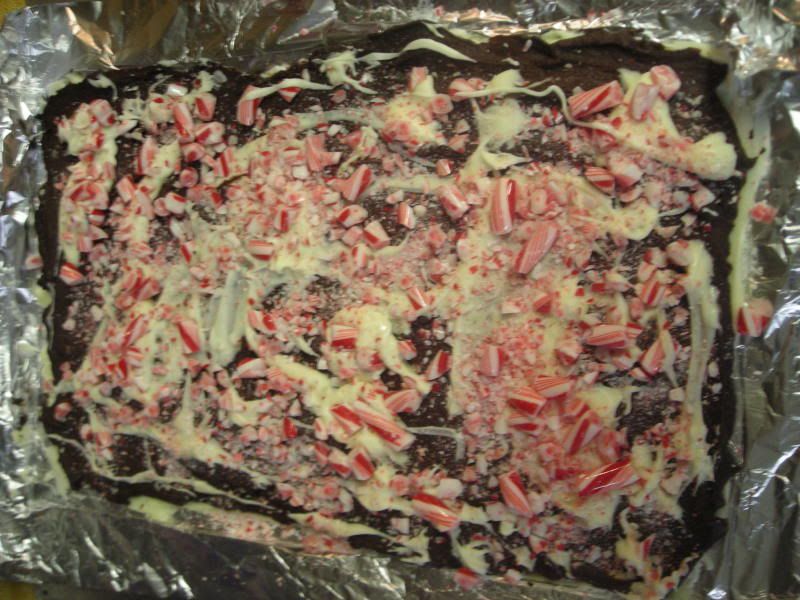
Rewarm remaining white chocolate in bowl set over barely simmering water to 110°F. Working quickly, pour white chocolate over firm bittersweet chocolate layer; spread to cover. Immediately sprinkle with remaining crushed peppermints. Chill just until firm, about 20 minutes.


Lift foil with bark onto work surface; trim edges. Cut bark crosswise into 2-inch-wide strips. Using metal spatula, slide bark off foil and onto work surface. Cut each strip crosswise into 3 sections and each section diagonally into 2 triangles. (Can be made 2 weeks ahead. Chill in airtight container.) Let stand 15 minutes at room temperature before serving.